How to Build a Root Cellar — Step-by-Step Guide for Homesteaders (2026)
How to Built a Root Cellar
A root cellar is one of the oldest and most effective food storage systems ever developed. Before refrigerators existed, families stored thousands of pounds of vegetables through the winter using nothing more than cool, dark, and humid underground conditions. In 2026 a root cellar is one of the most valuable investments a homesteader can make — providing year-round food storage with zero energy cost.

Why Build a Root Cellar?
- Zero ongoing energy cost — A properly built root cellar uses no electricity. The earth provides constant cool, humid conditions year-round.
- Stores 6 to 12 months of food — Potatoes, carrots, beets, winter squash, and apples store for months.
- Increases food security — A full root cellar gives your family food independence through winter.
- Adds property value — A well-built root cellar increases the value of rural property.
- Complements your garden — A root cellar converts summer abundance into winter meals.
Understanding Root Cellar Conditions
| Factor | Ideal Range | Why It Matters | How to Achieve |
| Temperature | 32–40°F (0–4°C) | Slows respiration and bacterial growth without freezing | Underground depth, insulation, north-facing entry |
| Humidity | 85–95% | Prevents shrivelling and moisture loss | Earthen floor, moisture-absorbing walls, water trays |
| Ventilation | Consistent exchange | Removes ethylene gas and CO2 from stored produce | Two-pipe system: intake low, exhaust high |
| Darkness | Complete dark | Prevents sprouting and greening of potatoes | No windows, insulated door |
7 Types of Root Cellar Design
- 1. Basement Corner Root Cellar — Most Common. Convert a corner of an existing basement by insulating the two interior walls and ceiling. Cost: $200–$1,000. Difficulty: Easy.
- 2. Hillside Root Cellar — Best Traditional Design. Dig into a north-facing hillside and build with stone or concrete. Cost: $1,500–$8,000. Difficulty: Moderate to Advanced.
- 3. In-Ground Pit Cellar — A simple pit dug into the ground and covered with a wooden lid. Cost: $100–$500. Difficulty: Easy.
- 4. Buried Garbage Can / Drum — Bury a large galvanised metal garbage can vertically in the ground with the lid at ground level. Cost: $50–$150.
- 5. Freestanding Outdoor Root Cellar — Purpose-built structure above or partially below ground.
- 6. Straw Bale Root Cellar — Build the walls from straw bales which provide excellent insulation.
- 7. Attached Root Cellar Addition — Built onto an existing barn or house on the north side.
How to Build a Basement Corner Root Cellar — Step by Step
Materials Needed
- 2×6 lumber for wall framing
- Rigid foam insulation (R-20 minimum) for interior walls and ceiling
- Vapour barrier (6-mil polyethylene)
- Two 4-inch PVC pipes for ventilation (one intake, one exhaust)
- Insulated exterior door or build your own with 2×6 framing and foam
- Wooden shelving materials and a thermometer/hygrometer
Step-by-Step Construction:
- Choose your corner — Select the corner of your basement farthest from your furnace and closest to the north or east exterior wall.
- Frame the interior walls — Build 2×6 stud walls across the two interior sides of your corner.
- Install vapour barrier — Staple 6-mil polyethylene to the warm side of the interior wall framing before insulation.
- Insulate interior walls and ceiling — Install rigid foam insulation (R-20 minimum) in the stud bays and across the ceiling.
- Install ventilation pipes — Two 4-inch holes through the exterior wall. One pipe near the floor (intake). One pipe near the ceiling (exhaust).
- Build or install the door — An insulated door is critical. Frame a 2×6 door opening.
- Install shelving — Build wooden shelves on all available walls with at least 6 inches between shelves for air circulation.
- Test conditions before stocking — Monitor temperature and humidity for one week before adding food.
| Target temperature is 32 to 40°F and 85 to 95% humidity. If your cellar is too warm, increase the intake pipe size. If too dry, place shallow trays of water on the floor. |
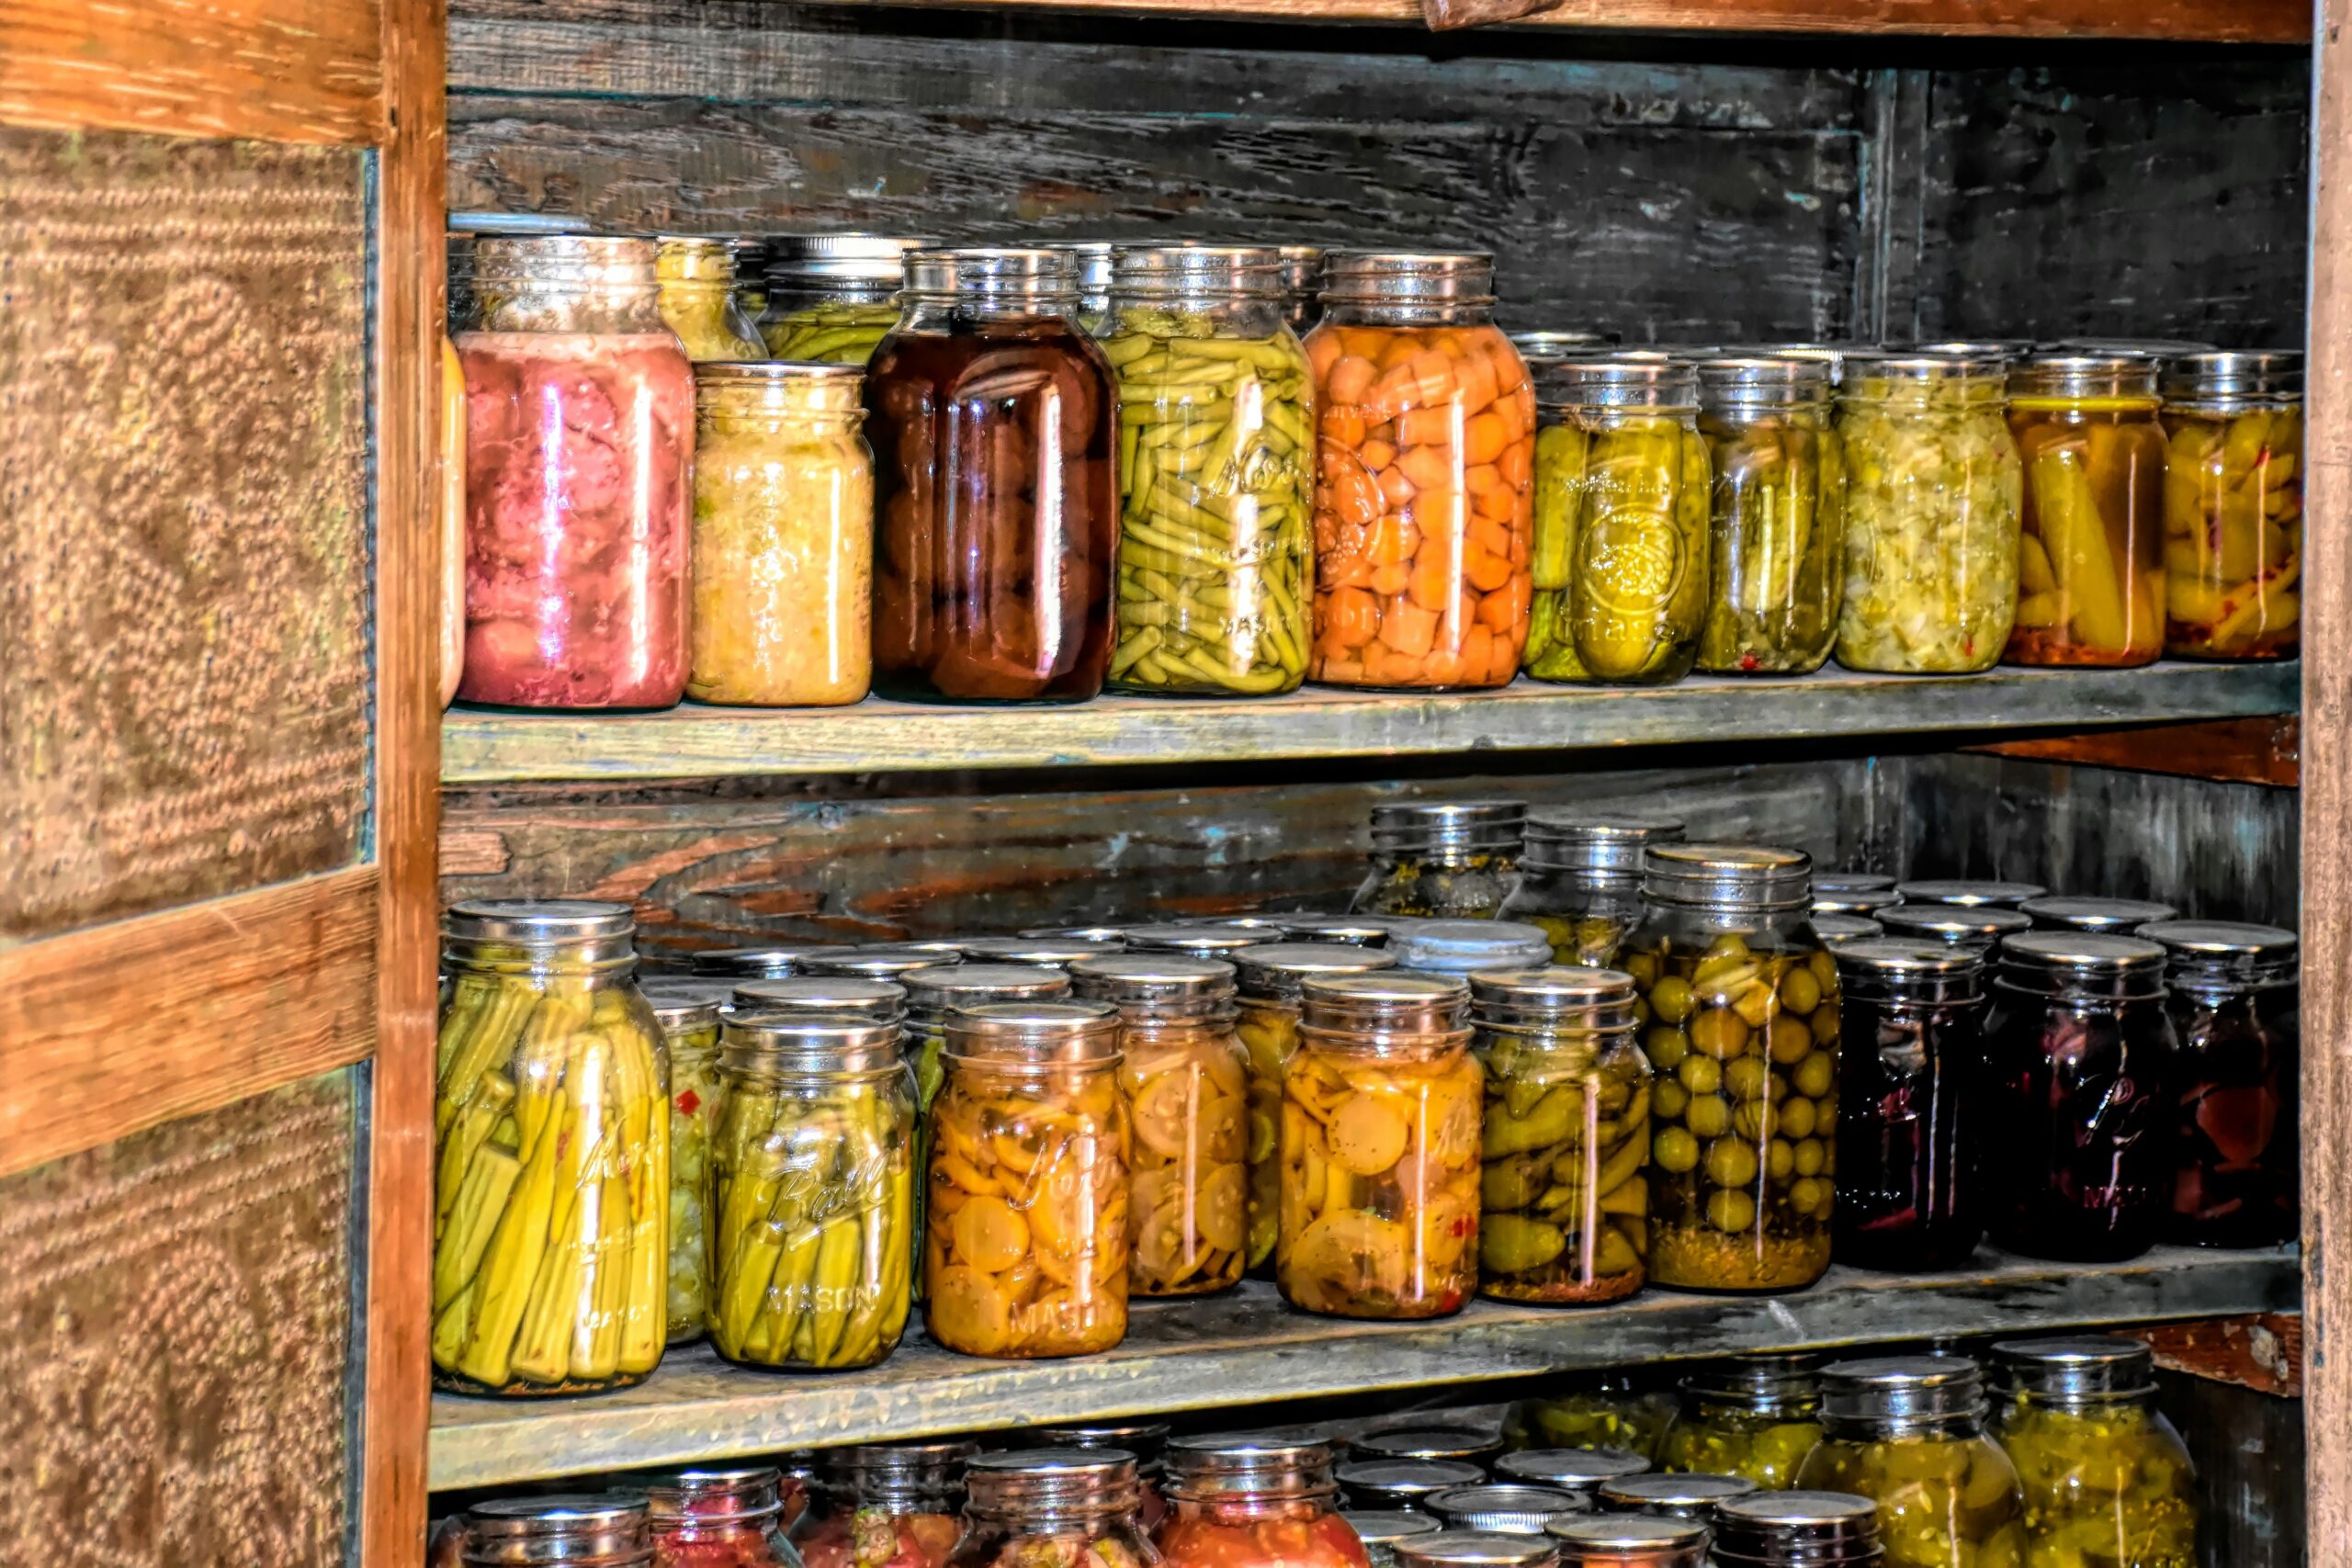
What to Store in a Root Cellar
| Food | Temperature | Humidity | Storage Duration |
| Potatoes | 34–40°F | 90–95% | 4–8 months |
| Carrots | 32–40°F | 90–95% | 4–6 months |
| Beets | 32–40°F | 90–95% | 3–5 months |
| Winter squash | 50–60°F | 60–70% | 3–6 months |
| Apples | 32–40°F | 90–95% | 2–6 months |
| Cabbage | 32–40°F | 90–95% | 3–5 months |
| Onions & garlic | 32–40°F | 60–70% | 6–8 months (keep dry) |
| Sweet potatoes | 55–60°F | 75–80% | 6–12 months (warmer than other veg) |
| Sweet potatoes require a warmer environment (55–60°F) than most root vegetables. Store separately from cold-requiring crops and never let them experience temperatures below 50°F. |
How to Built a Root Cellar?
Frequently Asked Questions
How deep does a root cellar need to be?
A root cellar needs to extend at least 4 to 6 feet below the frost line to maintain temperatures above freezing in winter. In most of the continental US this means 6 to 10 feet below ground.
How much does it cost to build a root cellar?
A basement corner root cellar costs $200 to $1,000. A hillside root cellar runs $1,500 to $8,000. A professionally built freestanding cellar can cost $10,000 to $30,000.
Can I build a root cellar without a basement?
Yes. Hillside root cellars, pit cellars, and in-ground buried containers all work without a basement. The hillside design provides the best natural temperature stability.