How to Set Up Off-Grid Solar for Beginners in 2026 — From $0 With the USDA REAP Grant

I want to start with something nobody in the solar industry will tell you.
The federal government will pay for half of your off-grid solar system.
Not a rebate you collect two years later. Not a tax credit that requires you to owe taxes first. An actual grant — the USDA REAP programme — that covers up to 50% of your installation cost for rural agricultural producers and homesteaders. A $6,000 solar system becomes a $3,000 solar system. A $15,000 system becomes $7,500.
Most articles about off-grid solar spend 3,000 words telling you which panels to buy. None of them mentions REAP. This article fills that gap.
By the time you finish reading, you will understand every component, know exactly how to size a system for your homestead, have a realistic cost estimate, and know how to apply for the grant that cuts that cost in half.
How to Set Up Off-Grid Solar for Beginners in 2026 — From $0 With the USDA REAP Grant
Why Off-Grid Solar Makes Sense for Homesteaders in 2026?
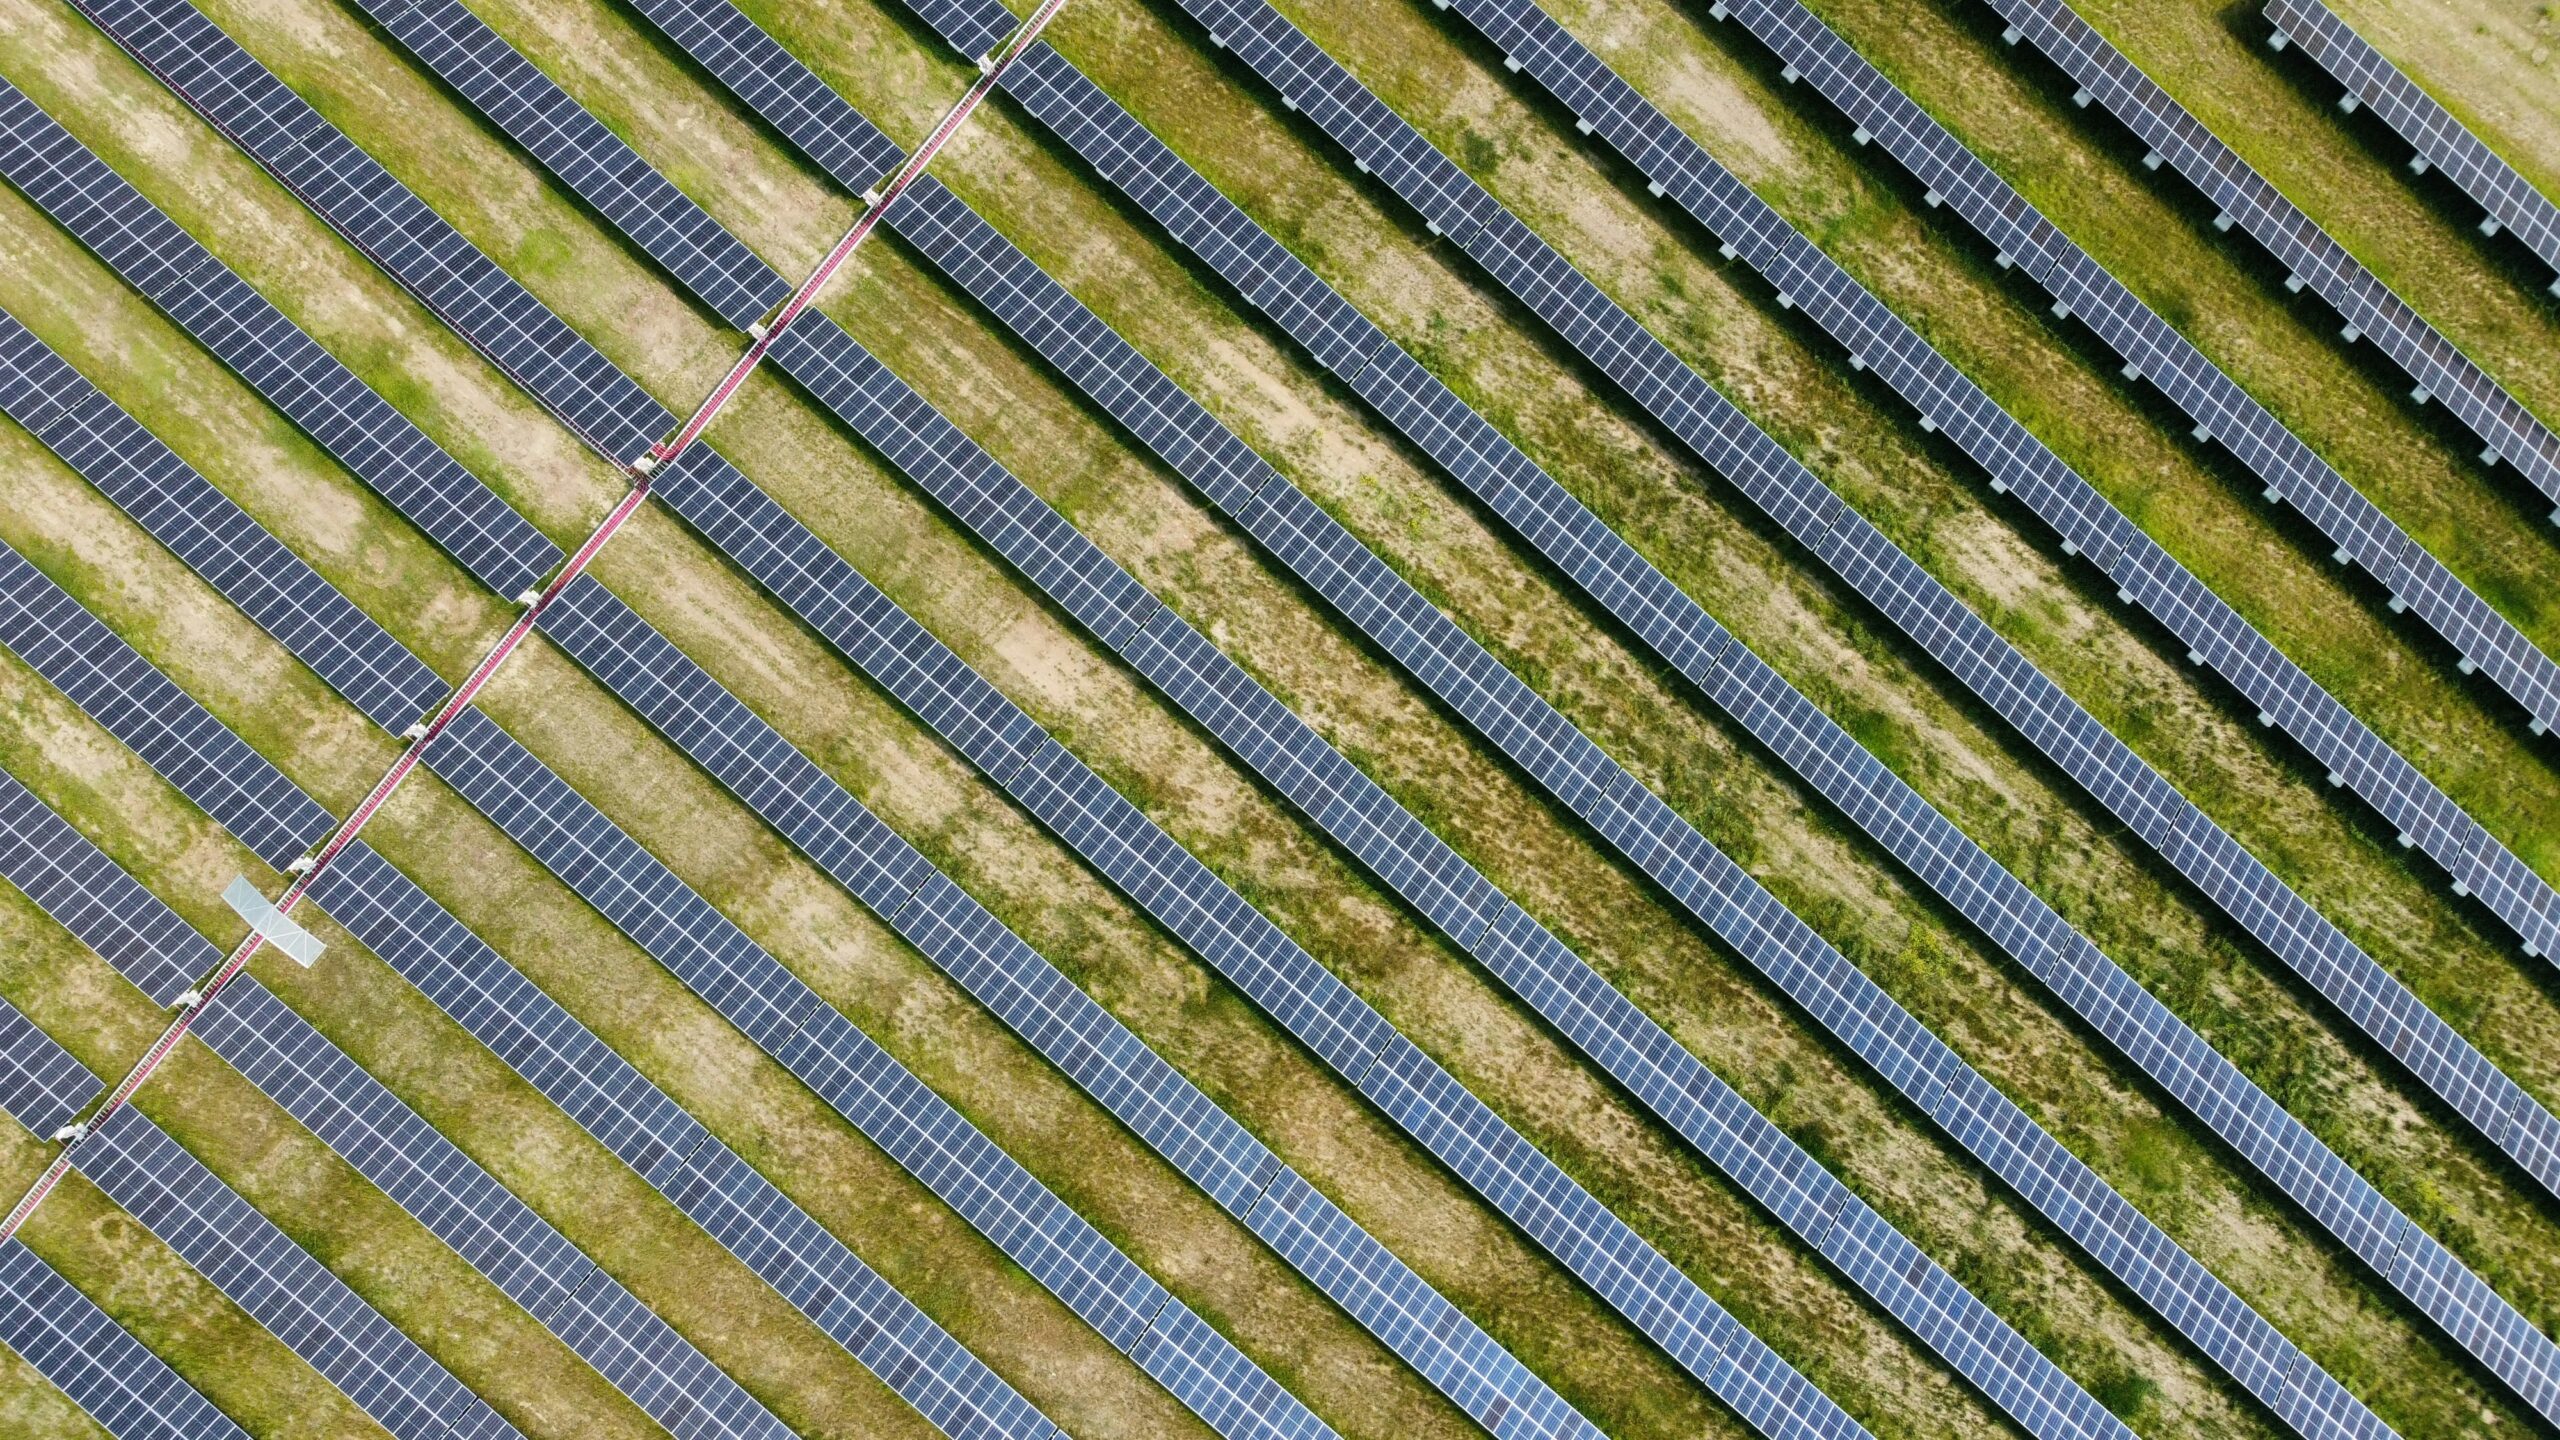
Grid electricity prices have increased by an average of 24% since 2020 in most US regions. Meanwhile, solar panel prices have dropped by 89% over the past decade. Modern lithium iron phosphate (LiFePO4) batteries last 10 to 15 years and require almost zero maintenance. A complete off-grid solar system that cost $40,000 ten years ago costs $8,000 to $15,000 today — before the USDA grant cuts it in half.
The financial case is straightforward. A $7,500 off-grid solar system (after REAP) eliminates a $180-per-month electricity bill. Payback period: 3.5 years. Then you have free electricity for the next 20 years — an estimated $43,200 in savings over the system’s life.
| The resilience case matters equally: when the grid goes down — ice storm, wildfire, aging infrastructure — your homestead keeps running. Well pump is pumping. Chest freezer is cold. Lights on. That independence is what off-grid solar really costs. The panels and batteries are just how you pay for it. |
| Step 1: Calculate How Much Power You Actually Need. This step determines every component you buy |
You need to know your daily kilowatt-hour (kWh) consumption before buying a single component. Here is exactly how to calculate it.
The Simple Method — For Existing Homes:
Look at your last twelve electricity bills. Add up total kilowatt-hours and divide by 365. That is your average daily consumption. A typical American household uses 29 kWh per day. A homestead with efficient appliances typically runs 3 to 6 kWh per day, dramatically lower because homesteaders are consumption-conscious.
Realistic Homestead Example — Daily Consumption:
| Appliance | Watts | Hours/Day | Daily Wh |
| Refrigerator | 150 | 8 | 1,200 |
| Chest freezer | 30 | 8 | 240 |
| Well pump | 750 | 1 | 750 |
| LED lighting | 60 | 5 | 300 |
| Laptop | 65 | 4 | 260 |
| Washing machine | 500 | 0.5 | 250 |
| Small power tools | 300 | 1 | 300 |
| Total | — | — | 3,320 Wh = 3.32 kWh/day |
| Add 25% to whatever number you calculate. This buffer covers system inefficiencies, cloudy days, seasonal variation, and future additions. If your calculation gives 4 kWh/day, design for 5 kWh/day. |
| Step 2: Understand the Four Components That Work Together. Know what each one does before buying anything |
An off-grid solar system has four main components. Understanding what each one does before buying prevents the most expensive beginner mistakes.
| Component 1 of 4 Solar Panels Convert sunlight into DC electricity — the beginning of everything |
Solar panels convert sunlight into direct current (DC) electricity. That is their only job. No moving parts, no fuel, no maintenance beyond occasional cleaning.
Key Numbers to Understand: How to Set Up Off-Grid Solar for Beginners?
- Wattage — A 400-watt panel produces 400 watt-hours per peak sun hour. At 5 peak sun hours (US average) that is 2 kWh per day per panel.
- Monocrystalline vs polycrystalline — Monocrystalline is more efficient per square foot and performs better in low-light. For most homesteads, this is the right choice.
- Quantity — Divide your daily kWh target by kWh per panel per day. Needing 5 kWh at 2 kWh per panel = 2.5 panels — round up to 4 for buffer.
| For most homesteads, 6 to 12 × 400-watt panels cover daily needs comfortably. That is a 2.4 kW to 4.8 kW system — the ideal beginner range. |
| Component 2 of 4 Charge Controller: Regulates power from panels to batteries — protects your most expensive component |
The charge controller sits between your solar panels and battery bank. It regulates electricity flow to prevent overcharging and maximize battery life.
MPPT vs PWM — Always Choose MPPT
PWM controllers are cheaper and work for very small systems under 500 watts. MPPT controllers harvest 10 to 30% more energy by continuously finding the optimal operating point — particularly valuable on cloudy days. For any homestead system above 1 kW, buy the MPPT. The extra cost is recovered in the first year.
Sizing Formula
Divide total panel wattage by battery bank voltage (typically 48V), then add 25% safety margin. Example: 1,600W array ÷ 48V = 33A + 25% = 41A. Buy a 50A MPPT controller.
| Component 3 of 4 Battery Bank Stores power for nights and cloudy days — the heart of your system |
Panels only produce when the sun shines. Your battery bank stores that electricity for nights, cloudy days, and extended grey periods. This is where most beginners underspend — and then wonder why their system does not work.
How Much Storage Do You Need?
The standard for a homestead is 2 to 3 days of autonomy. If daily consumption is 5 kWh, you need 10 to 15 kWh of usable storage.
LiFePO4 vs Lead-Acid — 2026 Decision
| Factor | Lead-Acid | LiFePO4 |
| Upfront cost | Lower | 2–3× higher |
| Lifespan | 3–5 years | 10–15 years |
| Usable capacity | 50% of the rated | 80–90% of rated |
| Maintenance | Monthly checks | Almost none |
| Cold performance | Poor | Good |
| 15-year total cost | Higher | Lower |
| Buy lithium for a new permanent homestead build. The lower lifetime cost, zero maintenance, and cold-weather performance make it the clear choice. Only choose lead-acid if budget is the absolute constraint — and plan to replace it with lithium in 5 years. |
| Component 4 of 4InverterConverts DC battery power to AC household current — never buy the cheap version |
Every appliance in your home runs on AC electricity. The inverter converts DC from your batteries into 120V or 240V AC power.
| Pure sine wave inverters only — for homesteads. Modified sine wave inverters damage motors, refrigerators, well pumps, and sensitive electronics. The $150 saved buys $500 in damaged equipment within the first year. Never compromise here. |
Sizing Your Inverter
Your inverter must handle your peak simultaneous load — including startup surge. A 750-watt well pump surges to 1,500 to 2,250 watts at startup. Add running loads (fridge 150W + lights 60W + laptop 65W) and your peak draw hits 2,525 watts. Buy an inverter rated 3,000 watts continuous with 6,000 watts surge capacity minimum.
Split-Phase (240V) for Homesteads
Most US homesteads need 240V for well pumps, ranges, water heaters, and workshop equipment. Confirm your inverter provides true split-phase 120V/240V output — many budget inverters only provide 120V and are unsuitable for a full homestead setup.
| Step 3: Size Your Complete System. A real Tennessee homestead example with costs |
Let us put the components together for a realistic example. A family homestead in Tennessee — 5 kWh daily target, 5 peak sun hours, $8,000 to $12,000 budget before any grants.
System Design
- Solar panels: 5 kWh ÷ (0.4 kW × 5 sun hours) = 2.5 panels → round up to 4 × 400W = 1.6 kW array
- Battery bank: 5 kWh × 2.5 days autonomy = 12.5 kWh needed. LiFePO4 at 80% usable → 15.6 kWh rated. Two 200Ah 48V batteries = 19.2 kWh rated.
- Charge controller: 1,600W ÷ 48V = 33A + 25% buffer → buy 50A MPPT controller.
- Inverter: Peak load ~3,000W with well pump surge → 3,500W pure sine wave split-phase.
Estimated System Cost — Before and After REAP Grant
| Component | Cost Range |
| 4 × 400W solar panels | $600 – $900 |
| 50A MPPT charge controller | $150 – $250 |
| 2 × 200Ah 48V LiFePO4 batteries | $3,000 – $5,000 |
| 3,500W pure sine wave inverter | $500 – $900 |
| Mounting hardware and wiring | $400 – $600 |
| Fuses, breakers, disconnects | $150 – $300 |
| Total before grant | $4,800 – $7,950 |
| After USDA REAP grant (50%) | $2,400 – $3,975 |
| A fully independent homestead solar system for under $4,000 — after the USDA REAP grant. Before installation labour, which the grant also covers. This is why applying for REAP before installing anything is the most important action in this entire guide. |
| Step 4: Apply for the USDA REAP Grant — Before You Buy Anything. The section no competing article includes. Read this carefully. |
The Rural Energy for America Program — REAP — is a USDA grant that covers up to 50% of the installed cost of renewable energy systems on rural agricultural properties. Homesteaders qualify as agricultural producers.
What REAP Covers:
The grant covers solar panels, batteries, inverters, charge controllers, mounting hardware, wiring, and professional installation costs. Everything.
What It Pays:
$2,500 to $1,000,000 per project. For a typical homestead solar system costing $8,000 to $15,000, REAP provides $4,000 to $7,500 in direct grant funding. Not a tax credit — a grant.
Who Qualifies:
Agricultural producers in rural areas with populations under 50,000 people. If you grow any food, keep any livestock, or produce any agricultural product on your property, you qualify. This includes homesteaders.
How to Apply:
- Find your state USDA Rural Development office at rd.usda.gov
- Request a free pre-application consultation — they confirm your eligibility and explain the documentation needed
- Your installer provides the required energy audit and technical documentation
- Apply in the funding cycle before construction begins — you must be approved before installation starts
Stacking Programmes:
The USDA EQIP programme can also pay for energy-efficient infrastructure including well pumps and pressure systems that reduce your solar system’s required size. Using EQIP alongside REAP reduces both system requirements and installation cost simultaneously. See our complete guide to USDA grants for homesteaders for full programme details.
| This one grant changes the economics of off-grid solar completely. Apply before buying. Installing without applying is leaving thousands of dollars on the table. |
| Step 5: Install Your System. What you can do yourself vs when to call a professional |
Let me be honest about something the DIY solar community glosses over. Off-grid solar installation involves significant electrical work. Done incorrectly, it can start fires, destroy expensive equipment, and injure people. This is not scaremongering — it is honest risk assessment.
What Most Homesteaders Can Do:
- Mounting panels on roof or ground-mount structure
- Running conduit and pulling wiring between components
- Making DC connections between panels, controller, and battery bank
- Setting up monitoring systems and commissioning the system
What Requires a Licensed Electrician:
Connecting the inverter output to your home’s electrical panel. This is the connection between your solar system and your home’s wiring — a fault here is a fire hazard. Budget $500 to $1,500 for this specific task. If applying for REAP, professional installation documentation is required anyway — the grant covers it.
Step-by-Step Installation Overview:
- Mount panels — secure mounting rails to the roof or ground structure. Tilt angle = your latitude (e.g. Tennessee at 36°N = 36° tilt for maximum annual production)
- Run conduit — from panels to the charge controller location. Pull DC wiring through conduit, maintaining correct polarity. Label everything clearly.
- Install charge controller — mount near battery bank. Connect the panel array to the PV input. Configure for LiFePO4 battery type using manufacturer specifications.
- Connect battery bank — wire batteries in series or parallel to achieve the correct voltage. Connect to the controller battery terminals. Install the main battery fuse.
- Mount and connect the inverter — connect the DC input to the battery bank with an appropriately sized fuse. Call a licensed electrician for the AC output connection to the home panel.
- Test and commission — verify all voltage readings at each component. Power up one appliance at a time. Set up the monitoring app and review data daily for the first week.
| Step 6: Maintain Your System for 25+ Years. Less than 2 hours per year keeps everything running |
Monthly — 5 Minutes
Check your monitoring app for alerts or unusual readings. Confirm battery state of charge reaches 100% on sunny days and does not drop below your minimum target on cloudy days.
Quarterly — 20 Minutes
Visually inspect wiring connections for corrosion or loosening. Check panel mounting hardware for movement. Inspect the charge controller and inverter for error codes.
Twice Yearly — 1 Hour
Clean solar panels. In most rural US locations, dust, pollen, and bird droppings accumulate significantly. A dirty panel loses 15 to 25% of its output. Plain water and a soft brush — never abrasive cleaners or pressure washers.
System Lifespan Expectations:
| Component | Expected Lifespan |
| Solar panels | 25–30 years at 80%+ output |
| LiFePO4 batteries | 10–15 years (3,000–5,000 cycles) |
| MPPT charge controller | 10–15 years |
| Pure sine wave inverter | 8–12 years |
5 Common Beginner Mistakes — And How to Avoid Them:
Undersizing the battery bank
Panels are visible and exciting. Batteries are expensive and boring-looking. Beginners consistently underbuy storage and wonder why the system cannot survive two cloudy days. Your battery bank is your fuel tank — do not scrimp.
Ignoring the well pump surge
A well pump’s startup surge can be 3 to 4 times its running wattage. Size your inverter for surge capacity, not just continuous load. This is the most common inverter failure cause on new homestead systems.
Forgetting system losses
Energy is lost at every conversion point. Realistic system efficiency is 75 to 85%. Design at 100% efficiency and your real-world performance will disappoint. Always size up by 25% to cover losses.
Buying cheap batteries
The battery bank is the most expensive component to replace and the shortest-lived if you buy poorly. Budget correctly for LiFePO4 from a reputable manufacturer. Cheap battery savings disappear the first time you replace them early.
Not applying for REAP
The most expensive mistake on this list. The application takes 2 to 4 hours. The grant covers 50% of your system cost. Every homesteader who installs without applying is leaving thousands of dollars unclaimed. Apply first. Install second.
What Your Homestead Looks Like After Solar:
It is February and an ice storm is moving through your county. The power company is sending outage alerts. Your neighbours are scrambling for candles and generator fuel.
Your homestead? Unaffected.
Your battery bank is at 95%. Your well pump runs normally. Your chest freezer hums quietly. Your lights are on. Your family is warm. Your phone is charged. You watch the storm from your kitchen window and feel something that has no precise name — the deep satisfaction of a homestead that can take care of itself.
| That feeling is what off-grid solar actually costs. The panels and batteries are just how you pay for it. Start by calling your local USDA Rural Development office about REAP this week. |
Frequently Asked Questions:
How much does an off-grid solar system cost for a homestead in 2026?
A complete system for a typical homestead costs $5,000 to $15,000 for components before installation. After the USDA REAP grant covering 50%, most homesteaders pay $2,500 to $7,500 out of pocket. Professional installation adds $2,000 to $5,000 — which the grant also covers.
Can I start small and expand my solar system later?
Yes — this is actually the recommended approach. Start with enough for essential loads. As budget allows and needs grow, add panels and batteries. Both the panel array and battery bank can be expanded on most well-designed systems.
How many days can an off-grid system run without sunshine?
A correctly designed system with 2 to 3 days of battery autonomy operates normally for that duration without solar input. Most homesteads in the continental US never experience more than 3 to 4 truly sunless consecutive days.
Is off-grid solar suitable for cold climates?
Yes, with the right equipment. LiFePO4 batteries perform significantly better than lead-acid in cold temperatures. Solar panels actually produce more efficiently in cold — they just need sufficient sunlight hours. Idaho, Montana, and Minnesota all have active off-grid solar homestead communities.
What happens if my system generates more power than I use?
Your batteries absorb the surplus until full charge. Once full, the charge controller limits panel output to prevent overcharging. There is no sending power to the grid in a true off-grid system. This is why correctly sizing your battery bank matters — it determines how much surplus you can capture on good solar days.
Related Guides on Rediscover Rural:
- USDA Grants for Homesteaders 2026 — Including the REAP Solar Grant (Article 2)
- How to Start a Homestead With No Money in 2026 — 12 Steps (Article 4)
- 7 Best States for Homesteading in 2026 — Ranked by Price, Laws & Land (Article 5)
- How to Make Money Homesteading in 2026 — 15 Proven Income Streams (Article 31)
Official Sources:
energy.gov/energysaver/planning-home-solar-electric-system — US Department of Energy solar planning guide
rd.usda.gov/programs-services/energy-programs/rural-energy-america-program — USDA REAP programme (50% solar grant)
nrcs.usda.gov/programs-initiatives/eqip-environmental-quality-incentives — USDA EQIP programme


One Comment